Most real OIC work starts with someone else calling you. A portal posts a new order, a mobile app asks for a customer's status, another integration hands over a batch of records. In Oracle Integration Cloud the usual way to accept that call is an app-driven integration with a REST trigger, and building one end to end is one of the first things an OIC interviewer expects you to have done.
This guide builds a small REST API in OIC: a connection, an integration that accepts a JSON request, a response mapped back to the caller, activation, and a test call.
What you are building
The example is a simple "create order" API:
- The caller sends
POST /orderswith a small JSON body: an order number, a customer name and an amount. - OIC accepts it and replies with a JSON response: the same order number and a status.
In a real project the middle of the integration would do the work - insert the order into a database, call Oracle Fusion, write a file. Keeping it to request and response first means you can see the REST part working before you add anything else.
Step 1: Create a REST connection for the trigger
An integration never talks to a REST endpoint directly; it uses a connection.
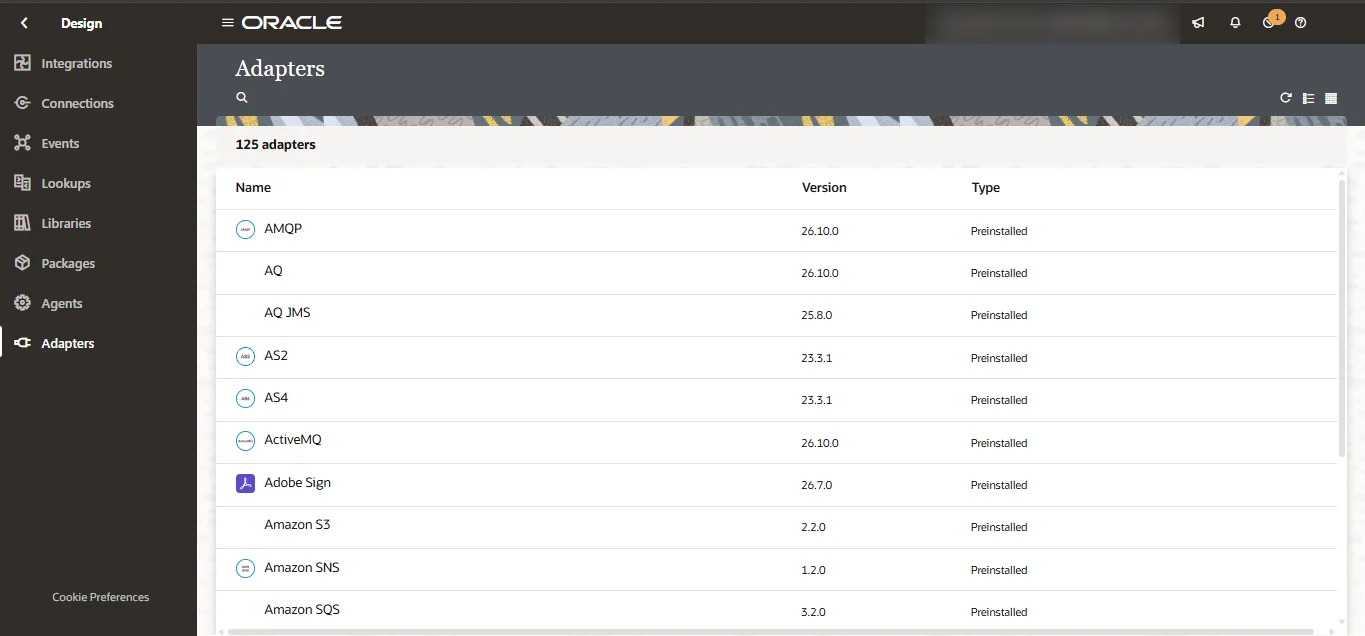
- From the OIC home page, go to Design > Connections and click Create.
- Choose the REST adapter.
- Give it a name such as
REST_Trigger_Ordersand set the role to Trigger. Outbound calls to other APIs use a separate connection in the invoke role, which needs the target's base URL and security; keep this one for the trigger only. - For a trigger connection there is no external URL to enter. Leave the security policy at the default that accepts OAuth 2.0 or Basic Authentication.
- Click Test, then Save. The connection should show as configured.
Step 2: Create an app-driven integration
- Go to Design > Integrations and click Create.
- Choose the application (app-driven) style rather than a schedule.
- Give it a name such as "Create order API". OIC fills in an identifier from the name and starts the version at 01.00.0000. The identifier and the major version become part of the endpoint URL later, so pick a name you are happy to keep.
The canvas opens with an empty trigger at the top, waiting for a connection.
Step 3: Configure the REST trigger
Drag or select your REST_Trigger_Orders connection as the trigger. The Adapter Endpoint Configuration Wizard opens.
Basic info
- Endpoint name: something readable, such as
createOrder. - Relative resource URI:
/orders. - Action: POST, because the caller is sending a new record.
- Tick the options to configure a request payload and configure this endpoint to receive the response.
Request
- Choose JSON as the payload format and provide a sample, for example:
{
  "orderNumber": "ORD-1001",
  "customerName": "Asha Rao",
  "amount": 2500
}
OIC reads the sample and builds the request structure from it, so include every field you expect, with realistic values.
Response
- Again choose JSON and give a sample:
{
  "orderNumber": "ORD-1001",
  "status": "RECEIVED"
}
Check the summary page and click Done. The trigger now shows on the canvas with a mapper waiting between the request and the response.
Step 4: Map the response
Open the map to the trigger's response. On the left are the request fields; on the right is the response you described.
- Drag
orderNumberfrom the request toorderNumberin the response. - For
status, set a fixed value ofRECEIVED(in the mapper, open the target field and type the literal). - Validate and close the mapper.
This is also where a real integration would grow. Before this map you could add an invoke to an ATP database or to Fusion, then map values from that call into the response, such as an id the target system created.
Step 5: Set a business identifier
OIC asks for at least one business identifier before it lets you activate. This is the value you search on when you look for a run later, so choose something meaningful from the request: orderNumber is ideal.
Open the business identifiers (tracking) option on the integration, add orderNumber, and save. Then save the integration and close the canvas.
Step 6: Activate
From the integrations list, choose Activate on your integration. OIC asks for a tracking level:
- Production keeps the least detail and is what live integrations normally use.
- Audit and Debug keep more of each message, which helps while you are building and testing. Use them for a short time only, because they store more data.
For a first test, a more detailed level makes the run easier to follow. When the status shows Active, the API is live.
Step 7: Call your API
OIC shows the endpoint URL for an active REST integration on its details, so copy it from there rather than building it by hand. It follows the pattern of your instance host, the integration's identifier, its major version and your resource URI, something like:
https://<your-oic-host>/ic/api/integration/v1/flows/rest/CREATE_ORDER_API/1.0/orders
There are two easy ways to call it.
From OIC itself. Active app-driven integrations have a Run option in the integrations list. It opens a page where you can enter the request body, send it and see the response, without any other tool.
From outside, with curl or Postman. Send a POST with Basic Authentication, using an OIC user that is allowed to call integrations (the ServiceInvoker role or higher):
curl -u your.user:your-password \
  -H "Content-Type: application/json" \
  -d '{"orderNumber":"ORD-1001","customerName":"Asha Rao","amount":2500}' \
  https://<your-oic-host>/ic/api/integration/v1/flows/rest/CREATE_ORDER_API/1.0/orders
You should get back {"orderNumber":"ORD-1001","status":"RECEIVED"}.
Step 8: Find the run
Every call creates an instance you can look up. Open the monitoring area of OIC (Observability, or Monitoring on older versions), find the instances or tracking page, and search by your business identifier, ORD-1001. You will see whether it succeeded and, at a detailed tracking level, the request and response.
If a call fails, check these first:
- 401 Unauthorized: wrong user or password, or a user without permission to invoke integrations.
- 404 Not Found: the URL does not match - a typo in the identifier, the wrong major version, or an integration that is not active.
- 400 or a mapping fault: the body does not match the sample you gave, for example a number sent as text.
What to practise next
Once this works, these extend it into the kind of integration interviewers ask about:
- Add a template parameter to the resource URI, such as
/orders/{orderNumber}, and build a GET that returns one order. - Insert the order into an ATP database table between the trigger and the response, and return the new row's id.
- Add a fault handler so a failed database call returns a clear error to the caller instead of a generic fault.
- Call this integration from another integration using a REST connection in the invoke role.
Practise on your own OIC instance
Building this once from start to finish, and fixing the first 401 or 404 yourself, teaches more than reading the steps. An OIC practice instance lets you do exactly that.
Questions people ask
What is the difference between a REST trigger and a REST invoke in OIC?
A trigger is how an integration is called: OIC exposes an endpoint and waits for requests. An invoke is how an integration calls something else: OIC sends a request to another system's API. The same REST adapter does both, depending on the role you give the connection and where you use it.
Where do I find the endpoint URL of an OIC REST integration?
Activate the integration, then open its details from the integrations list. OIC shows the endpoint URL there, built from your instance host, the integration identifier, its major version and the resource URI you set in the trigger.
Which user can call an OIC integration?
Any OIC user with permission to invoke integrations, which is the ServiceInvoker role or a role above it. Send that user's credentials with Basic Authentication, or use OAuth if your setup requires it.
Why does my OIC REST call return 404?
Usually the URL is wrong or the integration is not active. Check the identifier, the major version and the resource URI against the endpoint shown on the integration's details, and confirm the integration's status is Active.